Do you ever struggle to fit all your data neatly into a single row in Google Sheets? Whether you’re dealing with long text strings, multiple lines of data, or just a lot of information to keep track of, adjusting the row height can help make your sheet much more readable.
To adjust the row height, simply hover the cursor over the row header, and the mouse icon will change into arrows. Press and hold the click and drag the mouse/trackpad to quickly adjust the row’s height.
If you need to change the height of multiple rows, using the manual method can be time-consuming.
In this article, I will explain easy ways to adjust the row height in Google Sheets, so you can increase or decrease the height to make your data more visually pleasing.
4 Ways to Adjust Row Height in Google Sheets
In this section, I will discuss four easy methods to change the row height in Google Sheets. Each method is explained with accompanying images, so simply follow the steps in the order I’ve outlined and you will be good to go.
#1. Increase Row Height Manually with Click and Drag
If you only need to adjust the height of a few rows, this method is the quickest and most efficient. Simply follow these steps to quickly adjust the row height and fit your data string:
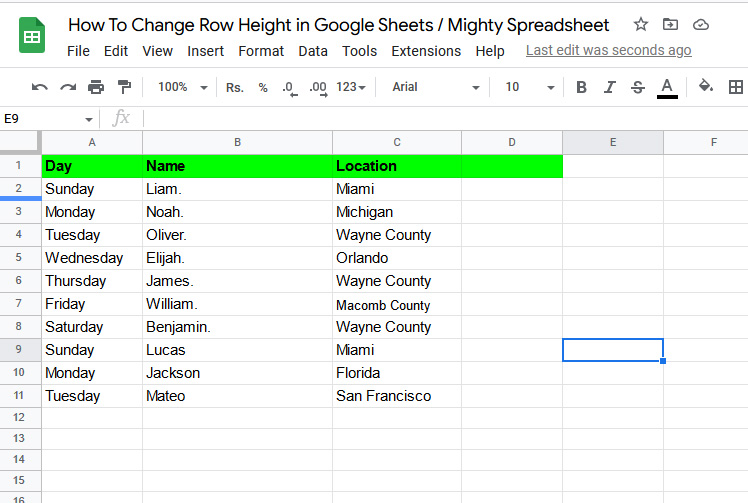
Step 1: Open the Google Sheet and hover the mouse over the row header. The cursor will change into a double-headed arrow symbol.
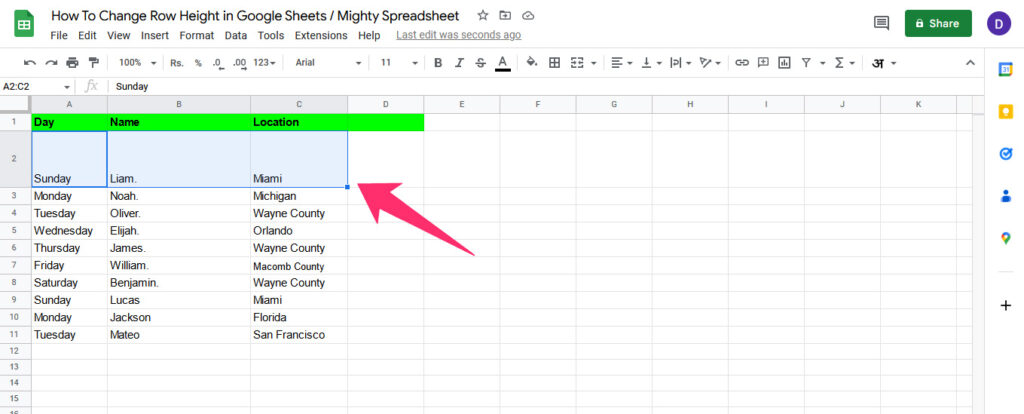
Step 2: Hold down the mouse button and drag it to adjust the row length. Dragging downwards will increase the row length while dragging upwards will decrease it.
Before:
After:
#2. Auto-fit Row Height with Double-Click
The method explained above is perfect for adjusting the height of a few rows, but if you have a large dataset that needs to be organized into rows, the auto-fit feature is the way to go.
To use the auto-fit feature:
Step 1: Hover the cursor over the row header you want to adjust the height for.
Step 2: A double-headed arrow will appear.
Step 3: Double-click on it, and the row will automatically adjust its height to fit the data. Take a look at the before and after results of using this method.
Before:
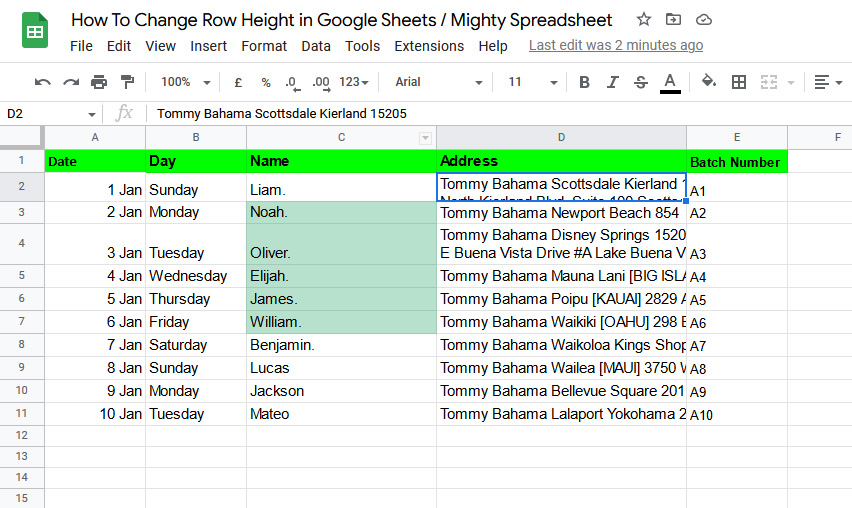
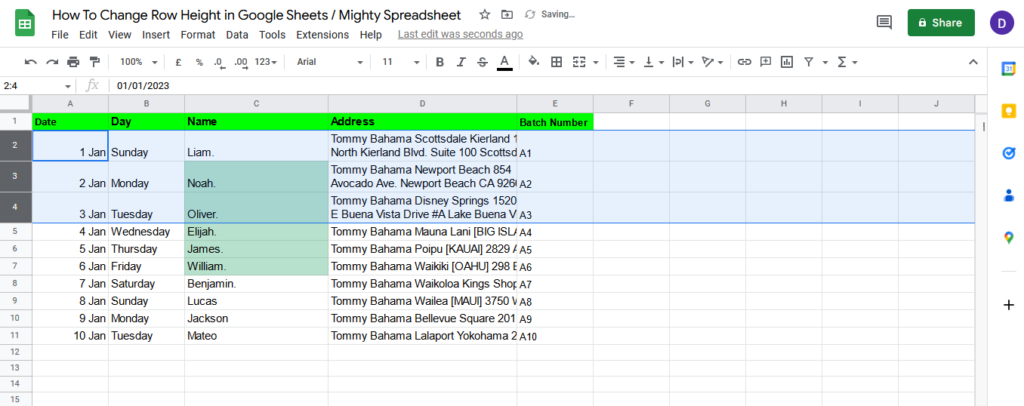
After:

#3. “Fit to data” with Right Mouse Click and Dialog Box
If the double-click method doesn’t work or you prefer not to use it, you can use the dialog box method to adjust the row height and fit data into it.
To use the dialog box method:
Step 1: Select the rows you want to adjust.
Step 2: Right-click with your mouse or trackpad.
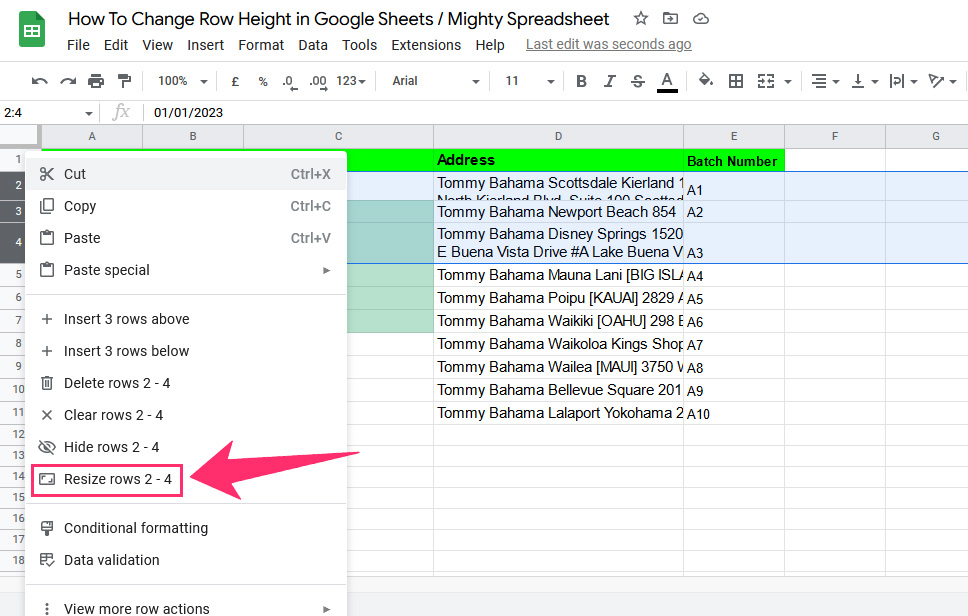
Step 3: Select “Resize rows (range)” and click on “Fit to data.“
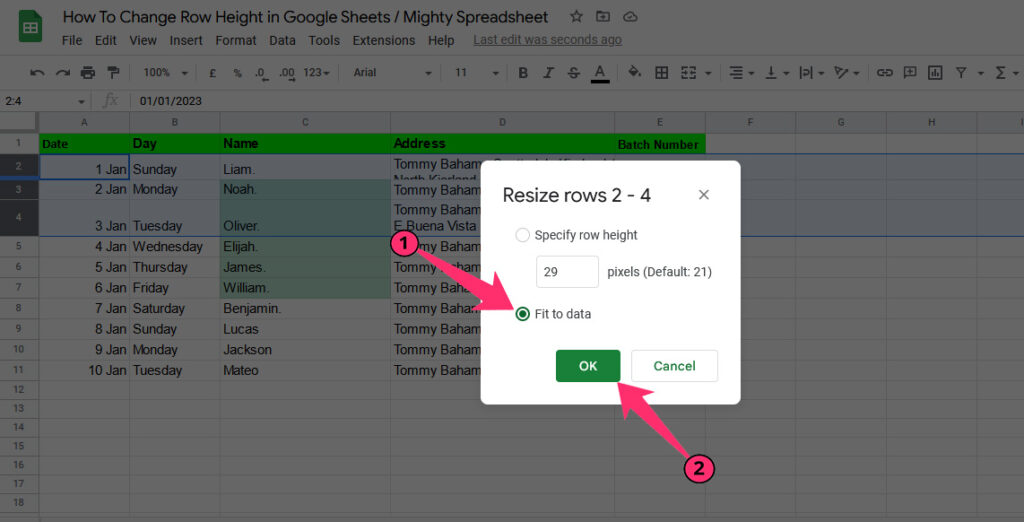
Step 4: Click “OK,” and the row height will adjust automatically according to the data.
#4. Format Row Height by Providing Its Size in Pixels
You can also select a custom row height and increase it by pixels. Here is the method to increase row height in Google Sheets by changing its pixels:
Step 1: Select the rows you want to adjust.
Step 2: Right-click with your mouse or trackpad and select “Resize rows.“
Step 3: Select “Specify row height” and enter the desired number of pixels in the text box.
Step 4: Click on Ok, and the row height will be changed according to the pixels you’ve entered.
How to Resize All Rows At Once in Google Sheets?
I
n Google Sheets, you can quickly resize all rows at once with just a few clicks. However, keep in mind that the size for all rows will be the same, and if you need to adjust the height of specific rows, you will need to do it manually.
To resize all rows at once:
Step 1: Click on the top cell that’s between the column and row range to select all rows and columns.
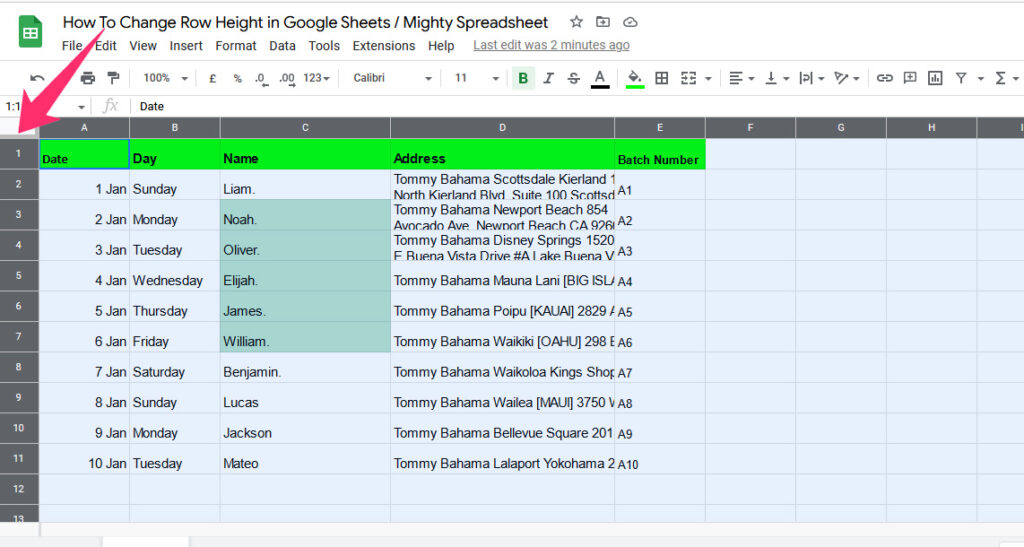
Step 2: Hover the cursor over the row 1 header until it changes to a double-headed arrow.
Step 3: Drag the arrow to adjust the row height, and all rows will automatically adjust to the same height.
Some Questions You May Have
What’s the default row size in Google Sheets?
The default row height is 21 pixels, but you can adjust it to any size you want by clicking and dragging the bottom border of the row header.
How to Reset the Row Size To Default?
To reset the row size to default, follow these steps:
- Select the rows you want to reset.
- Right-click and select “Resize row.”
- Enter the default row height of 21 pixels.
- Click “OK.” The row height will be reset to the default size.
How to Copy Row Height in Google Sheets?
To copy the row height in Google Sheets:
- Select the row that has the desired height.
- Right-click on the row header and choose “Copy” or press “Ctrl+C” on Windows or “Cmd+C” on Mac to copy the selected row.
- Select the row or rows where you want to apply the copied row height.
- Right-click on the row header and choose “Paste special” or press “Ctrl+Shift+V” on Windows or “Cmd+Shift+V” on Mac to open the Paste Special dialog box.
- In the Paste Special dialog box, choose “Paste row heights” and click “OK” to apply the copied row height to the selected row or rows.
The row height of the selected row or rows should now be updated to match the row height of the copied row.
Can I Set a Minimum Row Height in Google Sheets?
To set a minimum row height in Google Sheets:
- Select the rows or cells to which you want to apply the minimum height too.
- Right-click on the selection and choose “Resize row” from the context menu. This will open the “Row height” dialog box.
- In the “Row height” dialog box, you can enter the minimum height you want to set for the selected rows or cells. Make sure to enter a value that is less than the default row height of 21 pixels.
Final Thoughts
Adjusting the row height in Google Sheets can make your data look more presentable. Using the methods explained in this article, you can easily change the row height, including setting a custom height.
If you make a mistake and set the wrong height, you can always use the undo function by pressing CTRL+Z to reverse the action.