This guide aims to teach you everything you need to know about text wrapping in Google Sheets.
In this blog post, we will touch on the various methods of making text fit within a cell for both desktop and mobile devices. Additionally, I’ll try to solve some of the most common issues people come across when trying to perform this task.
The Best Solution Overall: Wrap Text Using Shortcode
If you are here for the short answer I won’t keep you any longer.
The quickest solution I recommend for making text fit to cells is using the keyboard shortcut that works on both Mac and Windows devices.
- Simply select the cells you want to wrap,
- then press Option + Control + O if you are on Mac (press ALT + CTRL + O if you are on Windows )
- then press the “W” key
- and then press the “W” key again.
This is the most efficient method, however, there are different ways of keeping the text in one cell. And that’s what we are going to cover in the next section.
3 Other Useful Ways To Wrap Text In Cell in Google Sheets
#1: Make text fit in a cell using the Options Menu
Although it may be the longest option, I recommend it for absolute beginners. This is because doing so will help them become familiar with both the Options Menu and Google Sheets layout.
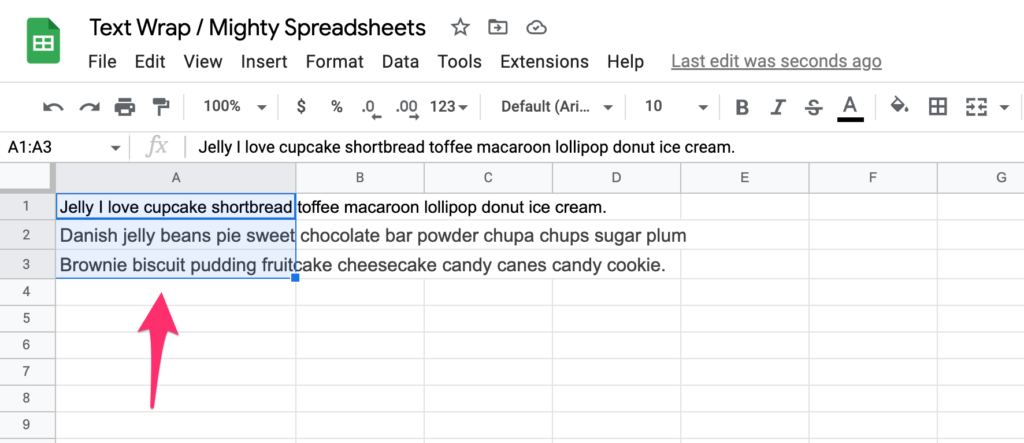
Step 1: Select the cells that you want to wrap
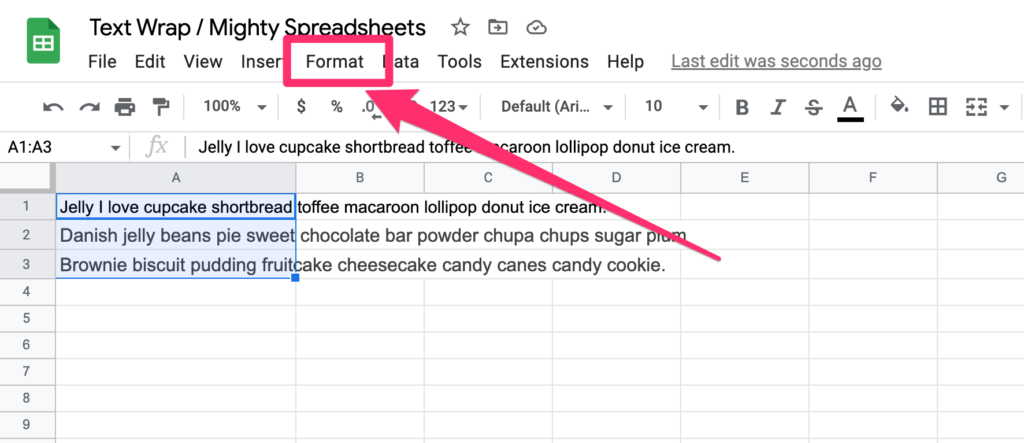
Step 2: Click on the “Format” menu item
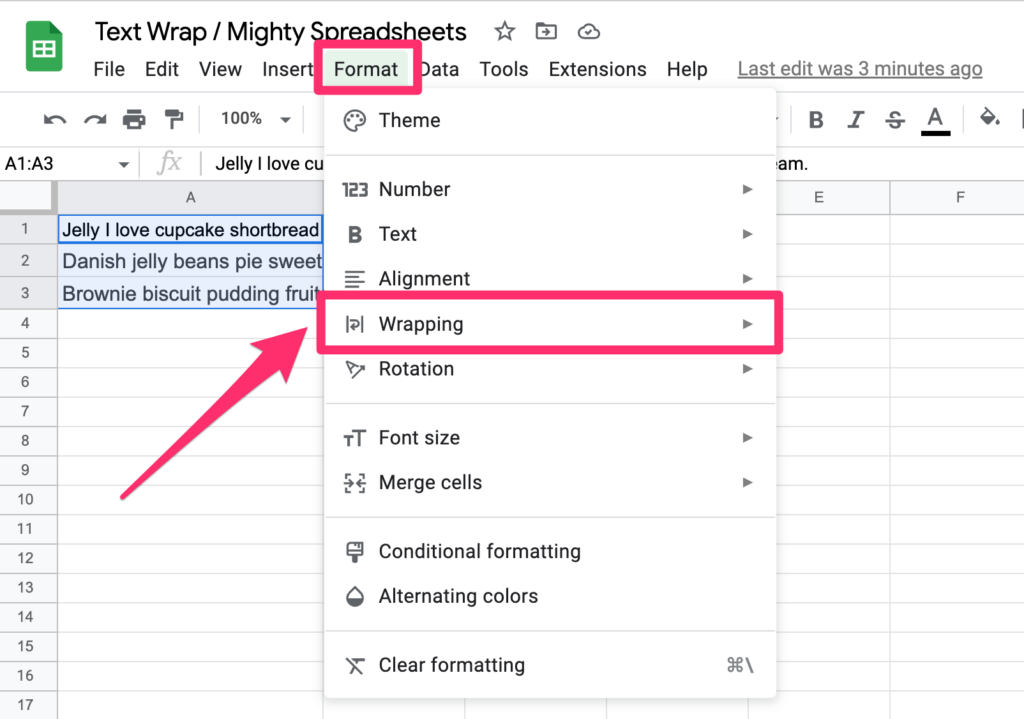
Step 3: Next, click on the “Wrapping” menu item
Step 4: Finally click on the “Wrap” menu item
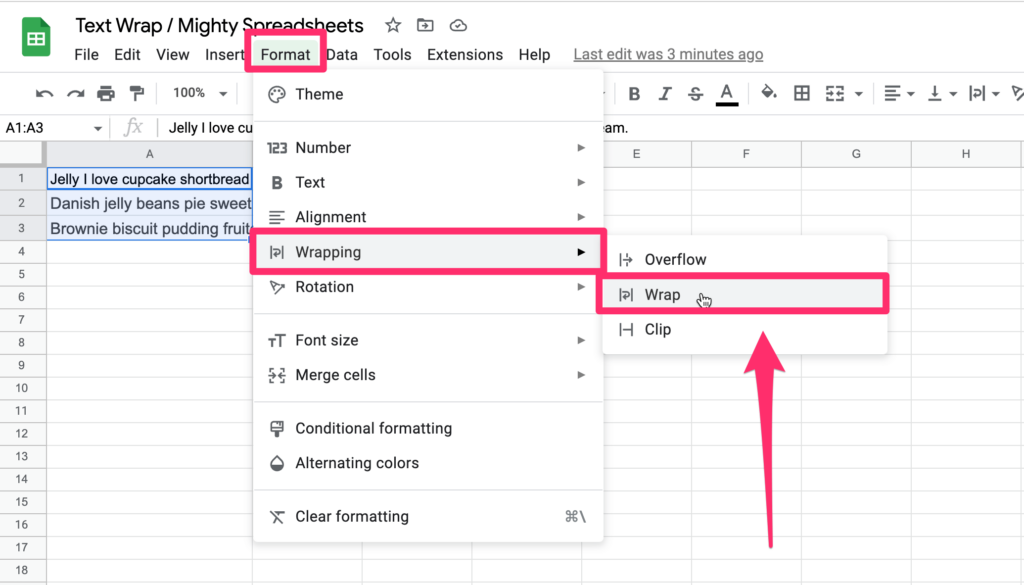
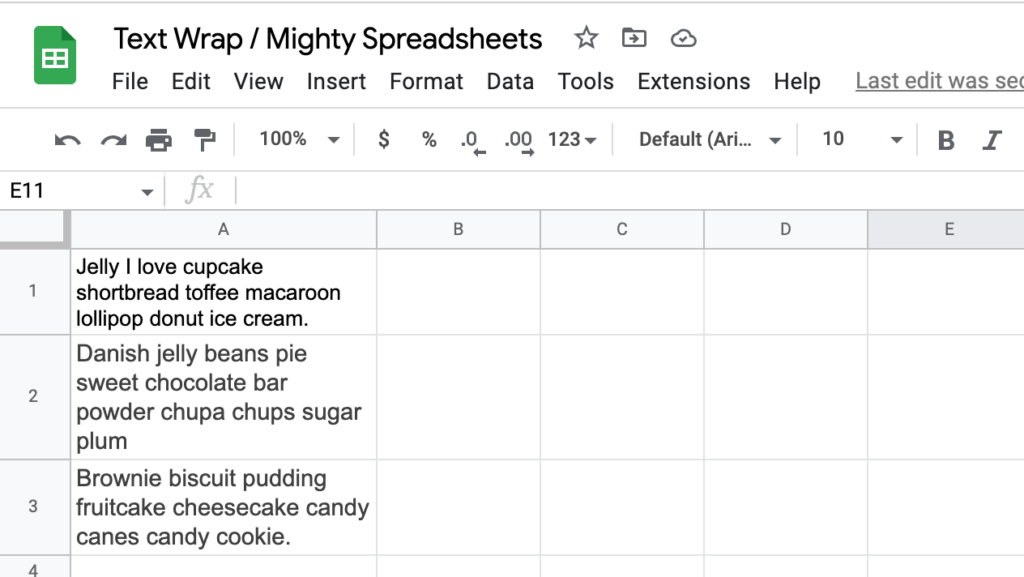
This is the final effect:
#2: Wrap text using the toolbar
The very same steps we covered above can be achieved much faster if you want to use the toolbar method.
Step 1: Select the cells that you want to wrap
Step 2: Click on the “text wrapping” icon
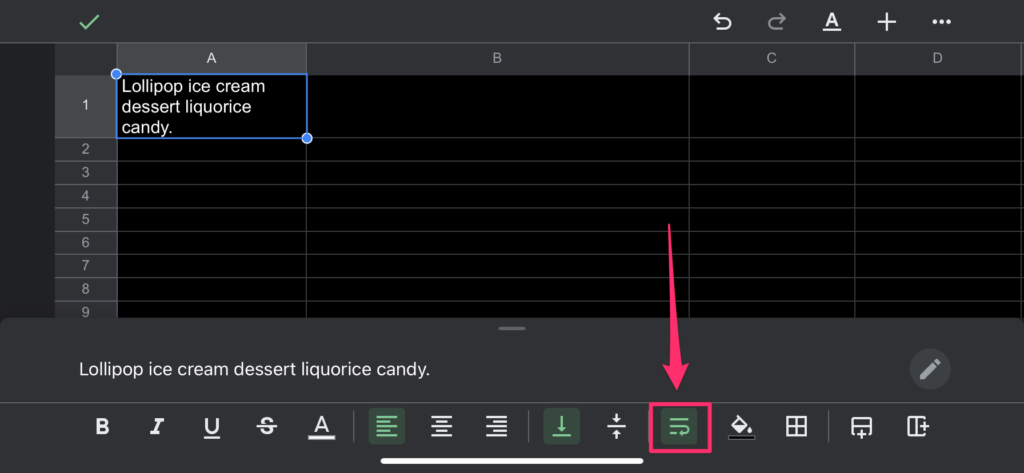
Above you can see what the icon looks like, below you can see where it is located in the Google Sheets App:
Step 3: Click on the “Wrap” icon (the one in the middle)
That’s really all it takes!
#3: Stack the text manually
This solution may be useful in some cases, even though it might seem odd at first sight. For example, if you want to control the wrapped text and don’t want it to wrap based on the cell width, this is what you need to do:
Step 1: Select the cell that you want to wrap and double-click on it (so you go to the edit mode)
Step 2: Place your cursor in the place where you want the line break to appear
Step 3: Press the COMMAND + ENTER keys if you are on Mac, or ALT + ENTER keys if you are on Windows
This will simply make the words fit in a cell in the way you like them.
How to Wrap Text In Google Sheets Using Mobile App (iPhone, iPad, Android)
If you’re unsure of how to stack text in Google Sheets when using the mobile app, follow these steps:
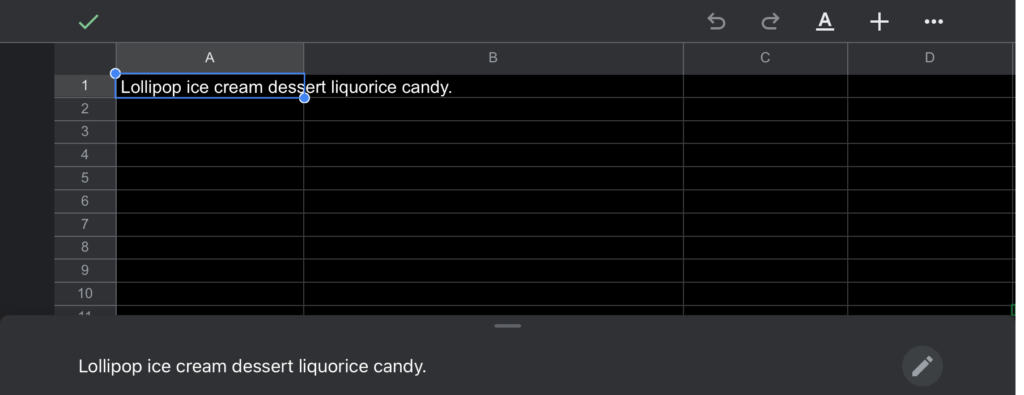
Step 1: Select the cell that you want to wrap
Step 2: From the contextual menu that will appear on the bottom of your screen select the “text wrap” icon
Step 3: Observe the text is nicely wrapped.
That’s all folks 🙂
Some Questions You May Still Have
Why is text wrapping not working in Google Sheets?
If text wrapping is not working for you there are two possible things that are causing that:
Your Column is simply too long
If the column is wider than your cell’s content, setting text wrapping won’t be working as you’d expect it to. Just adjust the width of the column and this should solve the issue.
You forgot to apply text wrapping
By default, Google Sheets’ text formatting results in text overflow. If this is happening to you and you’re wondering why the cells aren’t wrapping around the words like they’re supposed to, try one of the methods I mentioned above to fix the word wrap. It should do the trick.
Summary
Wow, we just learned 4 different ways to make the text stay in a cell.
Wrapping text in Google Sheets is a great way of making sure your content doesn’t get distorted, or that it fits snugly into the cells.
If you want to wrap text in a cell, the easiest way is to use the keyboard shortcut. You can also use the Options Menu or the Toolbar, but these ways take a bit more time. Finally, if you want complete control over what’s happening, you can wrap it manually.
I hope this tutorial has been useful and that you’ve been able to wrap text in Google Sheets just the way you like it. If you have any questions or doubts about this process, please don’t hesitate to leave a comment below!