This tutorial aims to give you a detailed guide on how to add bullet points in Google Sheets.
It should take you around 5-10 minutes to complete. If you’d like to follow along with me feel free to copy this spreadsheet and do the exercises (this step is entirely optional though)
How To Insert Bullet Points in Google Sheets Using Custom Number Format (My favorite method)
Although bullet lists aren’t a default feature in Google Sheets, there are a few ways to add them.
I will share the method I use most often but note that there is no one right way to do this, that’s why in the bottom of the article you will find an alternative way of achieving the same effect.
The reason I like it the most is that it’s versatile and still easy to use.
Here are the benefits for you if you go with this option:
- You can apply it to both small and large lists in seconds
- It doesn’t create duplicates of your entries
- Saves you time on manually copy-pasting the bullet for each cell
Here’s what you need to do:
Step 1 (Optional): Open the exercise document
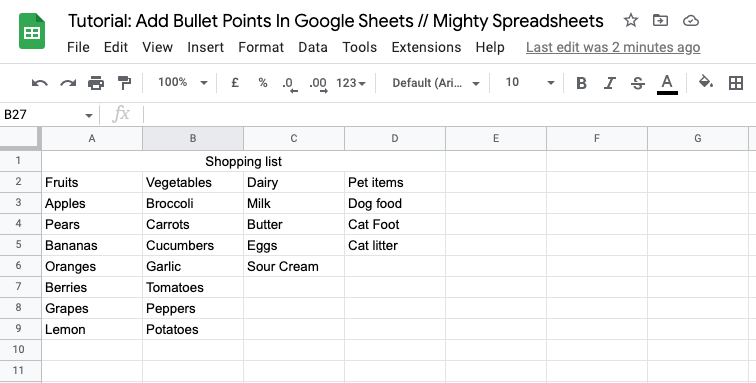
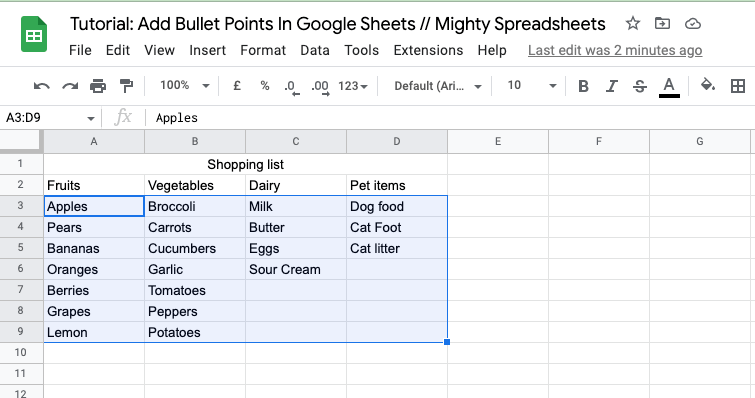
Step 2: Choose the entries you want to have in a bullet list format
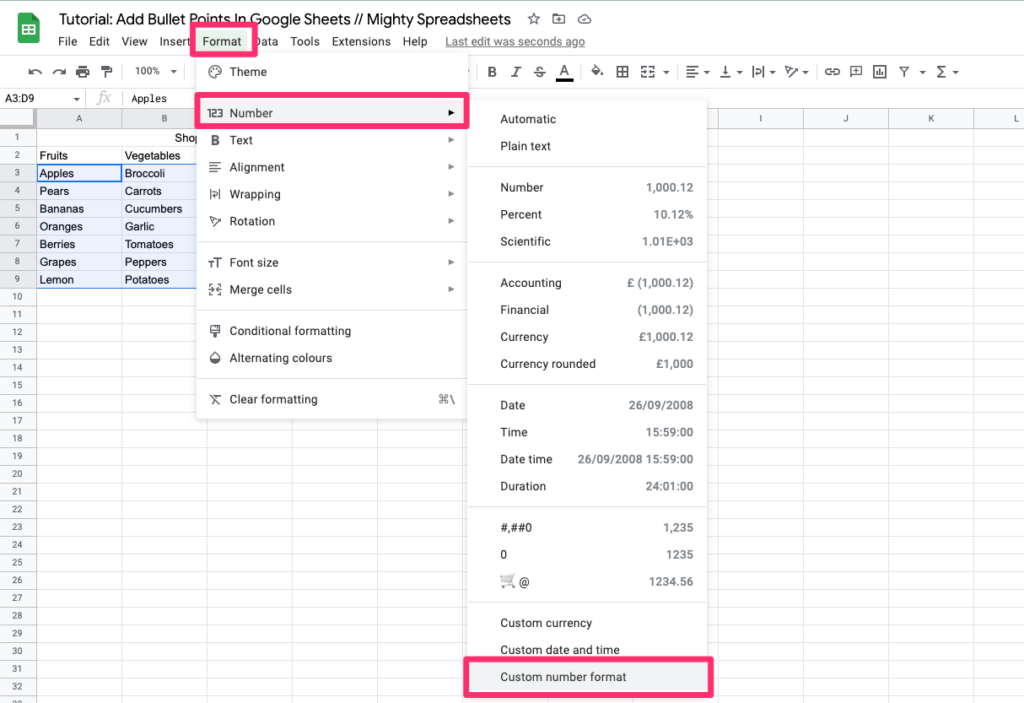
Step 3: Choose Format > Number from the Options Menu and then select the “Custom number format” option at the bottom of the list.
Step 4: In the “Custom number format” field, add your bullet*, then put an @ symbol, and click on the “Apply” button

Here are some ways you can use to add the bullet to Custom Number Format input:
Use a Keyboard Shortcut to Add Bullet Points in Google Sheets (Works on Mac and Windows):
- If you are on Mac type: [Option] + [8] to create a bullet
- If you are on Windows type: [Alt] + [0149] to create a bullet
- Alternatively, if you are using a keyboard with a numeric keypad type: [ALT] + [7] to create a bullet
Copy one of the bullets from the list below:
- •
- ►
- ○
- ◉
- ✦
- ✓
- ✕
Copy the bullet from an existing site:
You can use this Wikipedia page to copy a bullet (just copy the symbol inside the “Gylph” column and paste it).
If you want to go creative you can even copy an emoji (I use this page to copy any emoij instantly every time I need it)
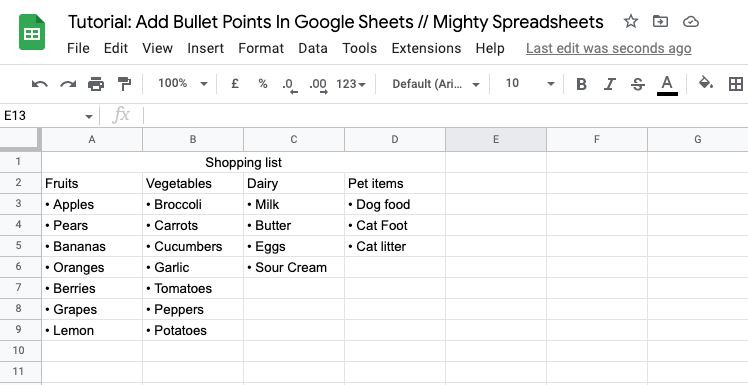
This is the final effect:
And this is the final effect if you use emojis:
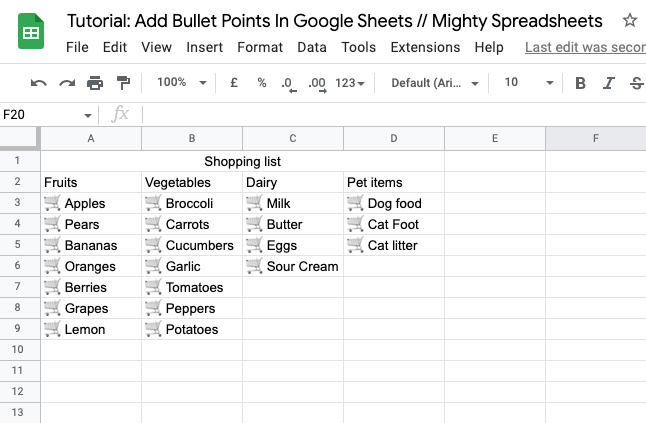
PRO-TIP: The list can look even better if you hide the gridlines
Make a Bullet in Google Sheets Using the CHAR Formula (Alternative Method)
You can easily make bullet points in Google sheets simply using the built-in formula.
The main benefit of this method is that you can combine it with other formulas (for example you can also sort items in alphabetical order)
The main downside of this method is that it creates a duplicated set of entries. Not always an issue but with larger lists it may turn out quite messy.
It also adds bullets to empty cells which is not something you may want to have.
Anyways, here are the steps to cover:
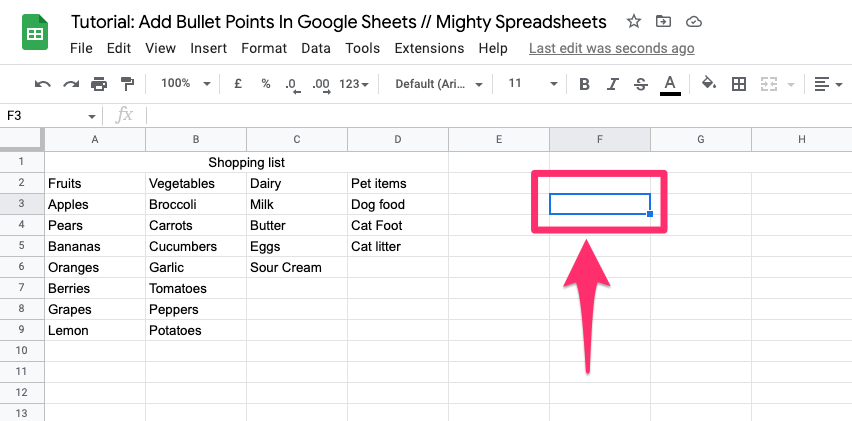
Step 1: Double-click on the cell you want to be at the beginning of your list
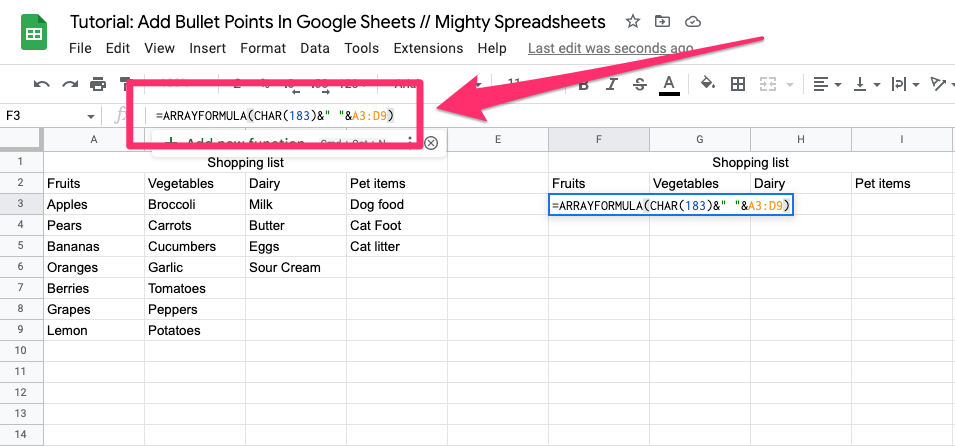
Step 2: Type =ARRAYFORMULA(CHAR(183)&" "&A2:D9) and click Enter
Done. You just created a bulleted list.
But I owe you an explanation of what we just did:
ARRAYFORMULA – Allows you to apply the results to multiple rows and/or columns
CHAR – The number provided as an argument of this function will be converted into a corresponding character based on the current Unicode table. We used 183 which stands for “middle dot”, but there are plenty of them, so you can find the one that fit your needs better. (I usually use this Wikipedia page for reference – find the one you like and copy the number from the “Decimal” column)
Did you know that adding a bullet list is one of the methods of creating indentation? Read this article if you are curious about how to indent cells in google sheets without bullet lists
How to Make a Numbered List in Google Sheets
While it’s not as easy to create a numbered list compared to a bullet list, it is still possible.
I will show you the simpler option first, which is adding numbered rows next to your column list. Then, I will give an example of how you can have a numbered list in one cell.
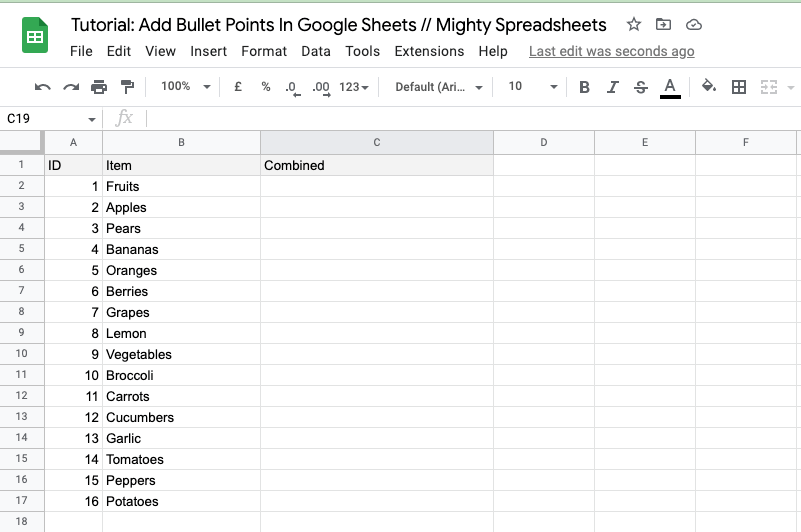
Step 1 (Optional): Open the “Numbered list – start” worksheet

Step 2: Populate the numbers in the ID column.
The easiest way to do that is just to use the SEQUENCE function which will just provide you with sequential numbers.
So focus on the A2 cell and type: =SEQUENCE(16)
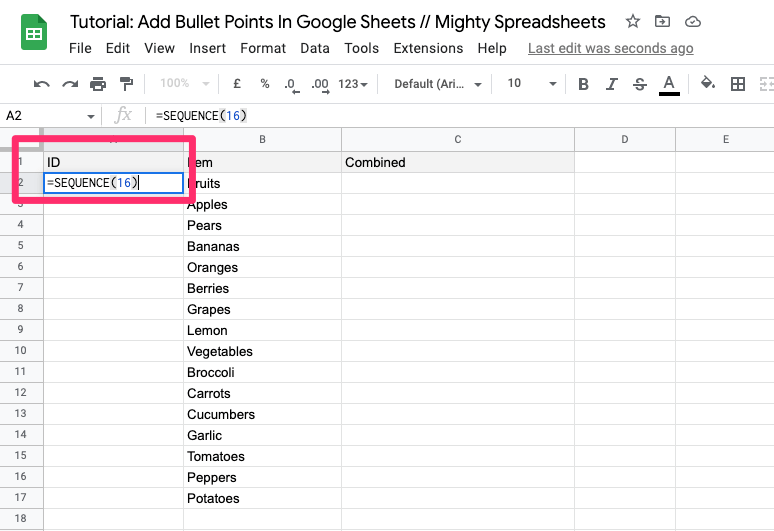
This is the effect you will get:
It may work for you but it still provides a number in one cell and the value in another. Can we make it work in one cell?
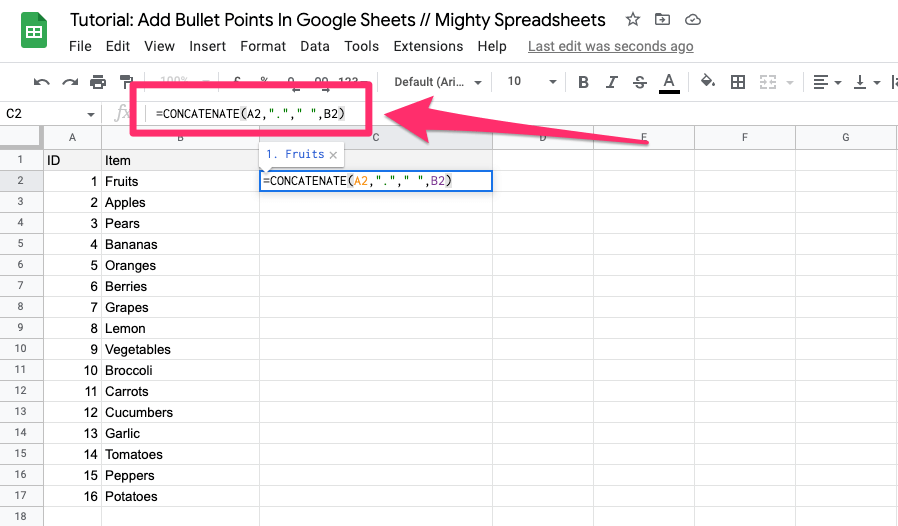
Yes, we can, and CONCATENATE formula will help us with that. It simply combines any two strings together.
Step 3: Focus on the C2 cell and type: =CONCATENATE(A2,"."," ",B2)
Step 4: Google Sheets will see the pattern and ask if you want to autofill the other cells with the same rule.
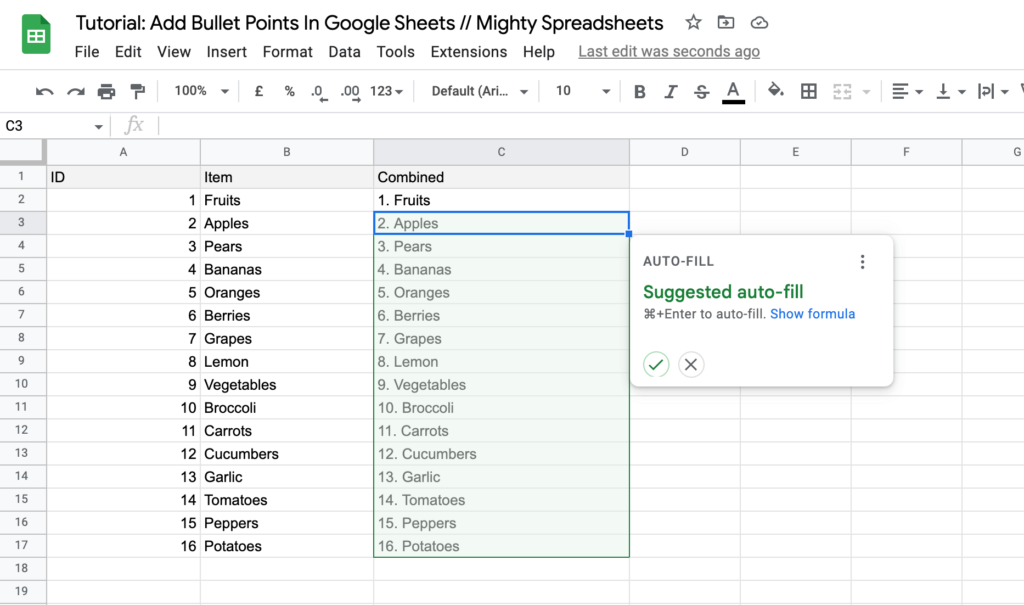
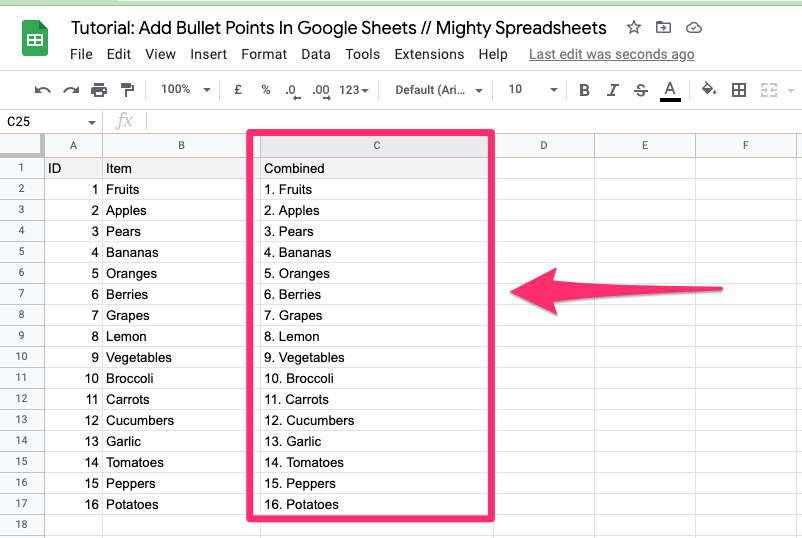
Just click on the “tick” and you are done.
For the record – just a breakdown of what we just did:
Each argument passed to the CONCATENATE function is a string that you want to combine, so here’s what we’ve put together:
A2is the value from the first cell"."– is the dot that will appear after the number" "– is the space that we want to have after the number and before the second valueB2is the value from the second cell
Some Questions You May Still Have
Can You Do Bullet Points In Google Sheets?
Yes, you can do bullet points in Google Sheets. It’s not an option that is available by default but you can achieve it using Custom Number Formats or by using a combination of the ARRAYFORMULA and CHAR functions.
How do I create a list within a cell in Google Sheets?
The easiest way to create a bullet points list inside a cell is just to add a bullet with a keyboard shortcut. Just press [Option] + [8] on Mac or [Alt] + [0149] on Windows to create a bullet and repeat the steps for each item inside the cell.
Can you add a numbered list in Google Sheets?
Yes, you can add a numbered list in Google Sheets. To do so just use a SEQUENCE formula in a separate column to create a sequence of numbers and then use the CONCATENATE formula to combine numbers and your values.
How do I add sequential numbers in Google Sheets?
You can add sequential numbers in Google Sheets by using the built-in SEQUENCE formula. For example, just type =SEQUENCE(10) in the cell where you want to start your sequence and Google will automatically fill the rest of the cells with sequential numbers.
My final thoughts
Bullet points and numbered lists are a great way to structure your data and make it more readable.
We just learned how to make bullet points with two different methods – by using Custom Number Formats and by combining ARRAYFORMULA with the CHAR function.
Both methods have their advantages and disadvantages so you will need to choose the one that works better for your personal needs.
I hope that you found this tutorial helpful and that you will be able to use bullet points and numbered lists in your future projects.
If you have any other ideas on inserting bullets in a simple and effective way let me know in the comments below!